Something New: Scrappy Pin Cushions

I'm sure we're not the only ones scrap busting in our house this year. Sometimes this is a hard activity for me. One way I'm trying to use up scraps this year is by making some scrappy little hearts. Another is to make scrappy over-sized pin cushions!

I try to pretty organically pick bits out of the scrap bins and match them together. I use a bit of scrap batting and pearl cotton or embroidery floss to quilt a quick handy design on them.  

I've been backing them all with a very soft cotton flannel that came in a friends destash. In most things, I don't like the grey, pink and blue plaid, but in these it's completely perfect. 
I fill them from a huge box of fiberfill that we've been working off of for two or three years... Now it's finally dwindling. I hear walnut shells are good for pin cushions. 

You can see the backing peeking out in the photo above. I'm hoping that they will be fun small things to sell at the markets I'm planning this summer. But for now, they are just fun little pillows!

All Gingham All The Time

Or, A Not Very Good Quilt. A Finished Quilt - with a story!

ag front.jpg

I heart gingham, can you tell? All Gingham All The Time uses almost all the gingham from my stash, most of it vintage. I found everything I could, from pre-cut vintage squares and on, to make a bright and cheerful courthouse steps design.

ag close.jpg

It's the largest quilt top I have made to date, all hand pieced! The backing for this quilt is a vintage gingham table cloth that my husband used in an art piece in college. It had a minor stain (something to do with apples, I think), so I cut it apart and reassembled it with a strip of pieces from the front.

ag back.jpg

When I went to baste this quilt, I saw that the top was quite a bit larger than the back, my first idea was to make the folded binding fold from front to back. Instead of back to front, the way I usually do. But  by that time I had found some more vintage gingham and was eager to add them to the quilt, as well! More Gingham!! (Don't count how many times I use the G Word in this post, please!) I added an outer boarder with the "new" pieces to the bottom. Now the bottom was bigger than the top. 

I basted the quilt with some vintage poly batting that I had. It was a very large one and left some scraps. AGATT was hand quilted with white pearl cotton thread over quite a long period of time (more on that below).  I went around the inside of each "box" of all the courthouse steps. Bc of the batting and the nature of the super soft vintage gingham, and weird fluffy texture of the vintage table cloth, this quilt is very puffy and fluffy. I didn't really try to keep it ultra smooth and tight when quilting as to add to this effect.   

For the binding I used my fold over method and bc the backing was quite a bit bigger it made a extra large fold. I quilted and secured the binding with more pearl cotton, mimicking the top by going around each side in a "box" motif. It gave the quilt a heavy, soft, floppy edge all around.  

All Gingham All The Time measures approximately  58" x 84". Almost all the cats helped me on this one, but notably Bippi (here), Tom (here, and here) and Pit (here and here). 

ag stripe.jpg

It was great weather to take photos and my husband held the quilt for me! A first! I'm linking up with Kathy and Slow Sunday Stitching to share this quilt today. All Gingham All The Time is also one of my 2015 Q1 Finish Along finishes!

And now, more to this story:

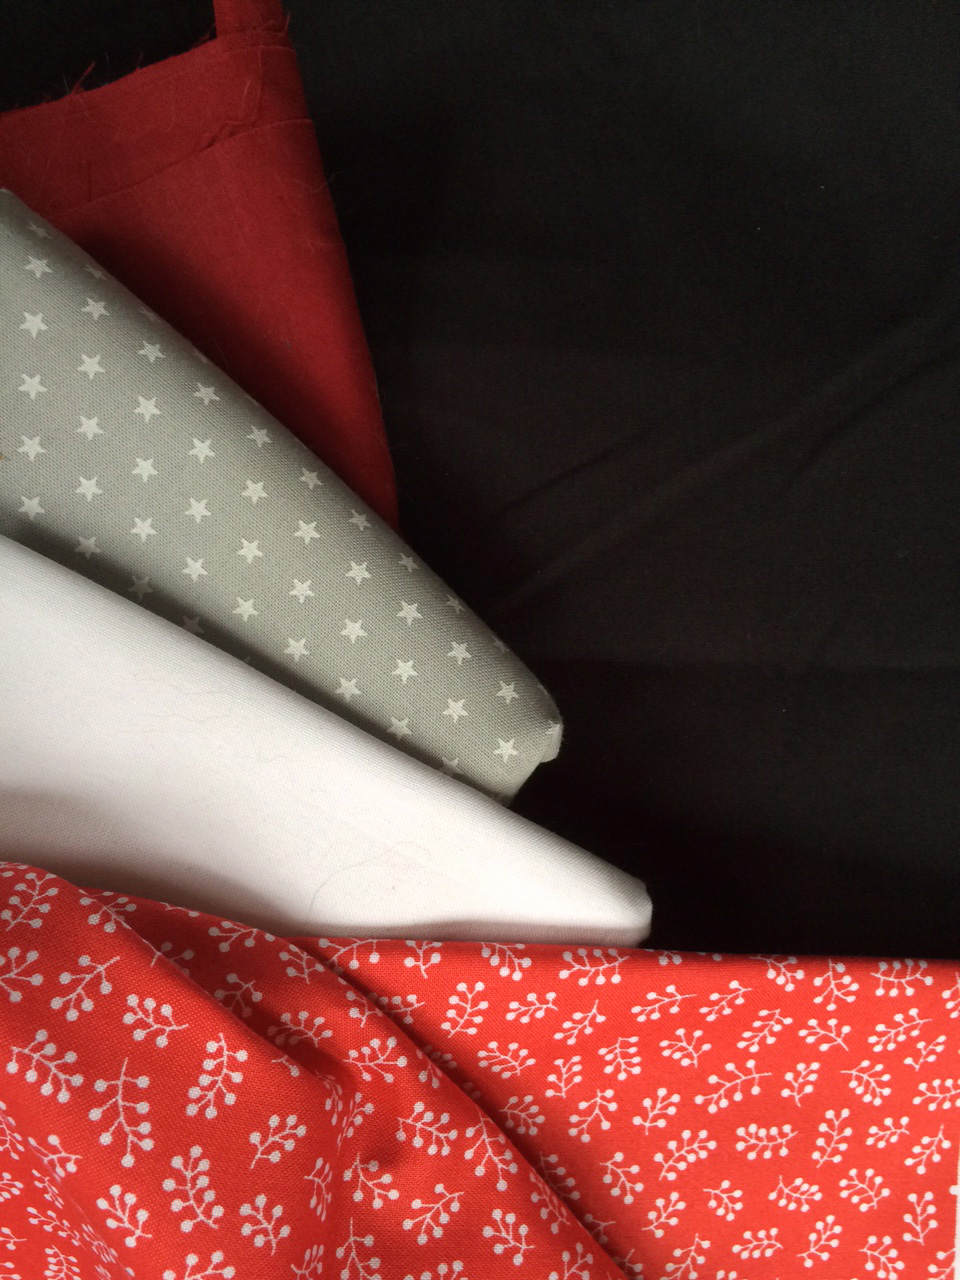
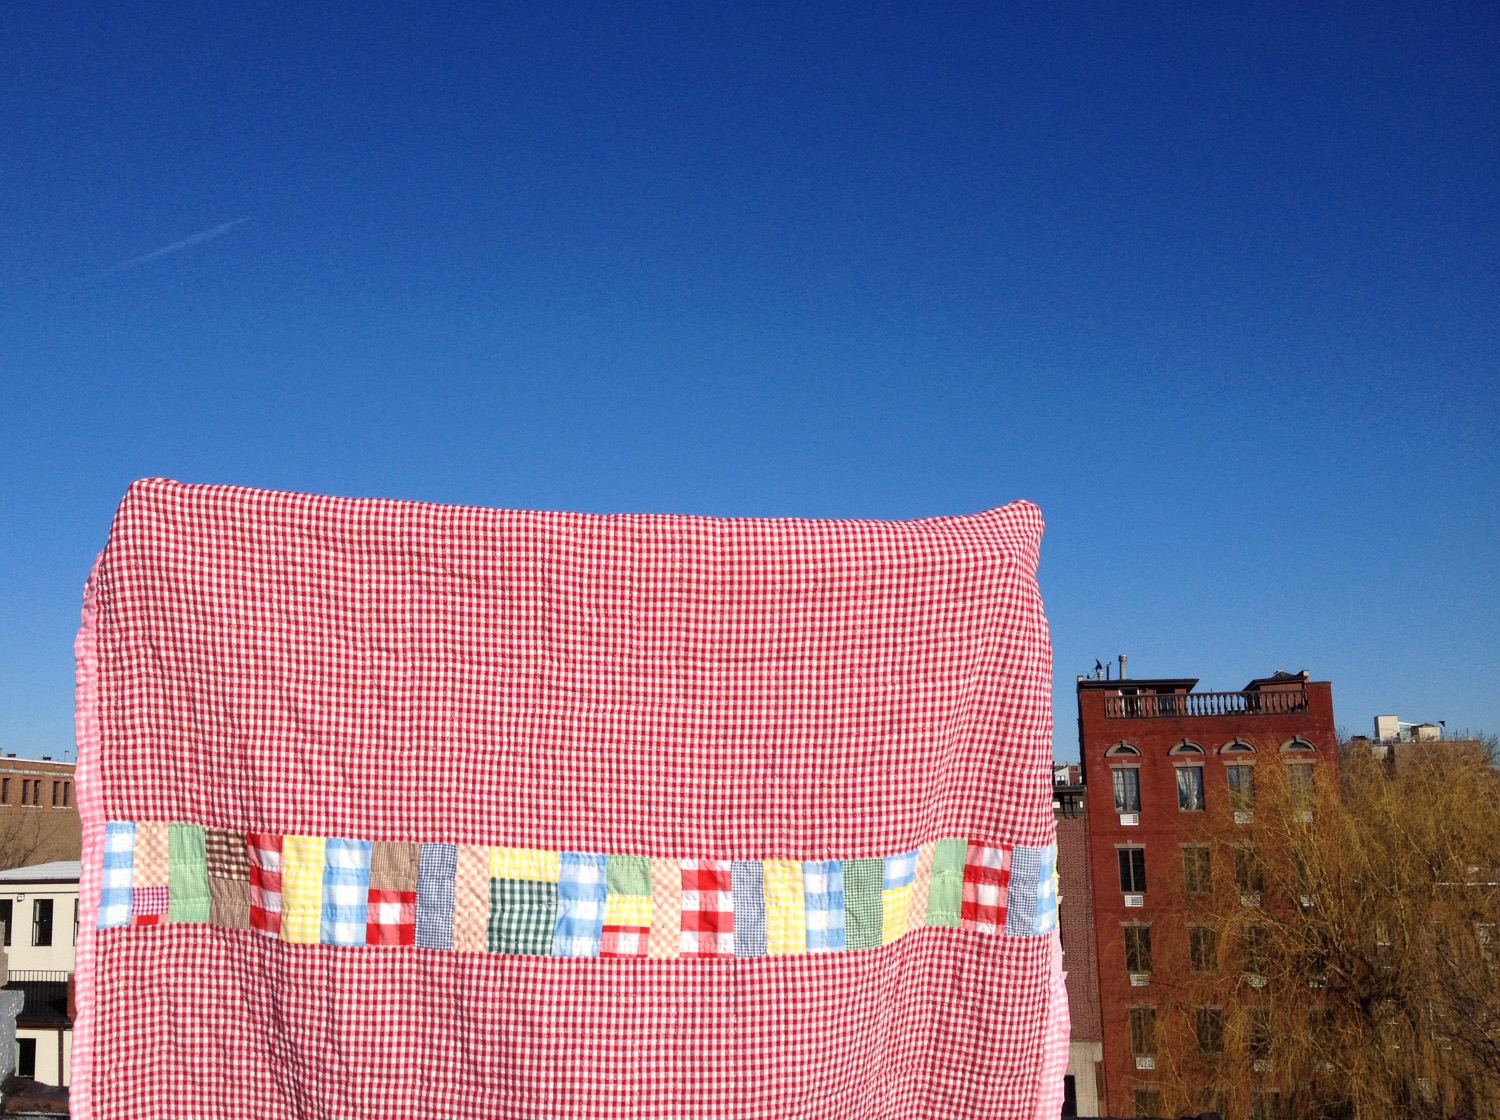
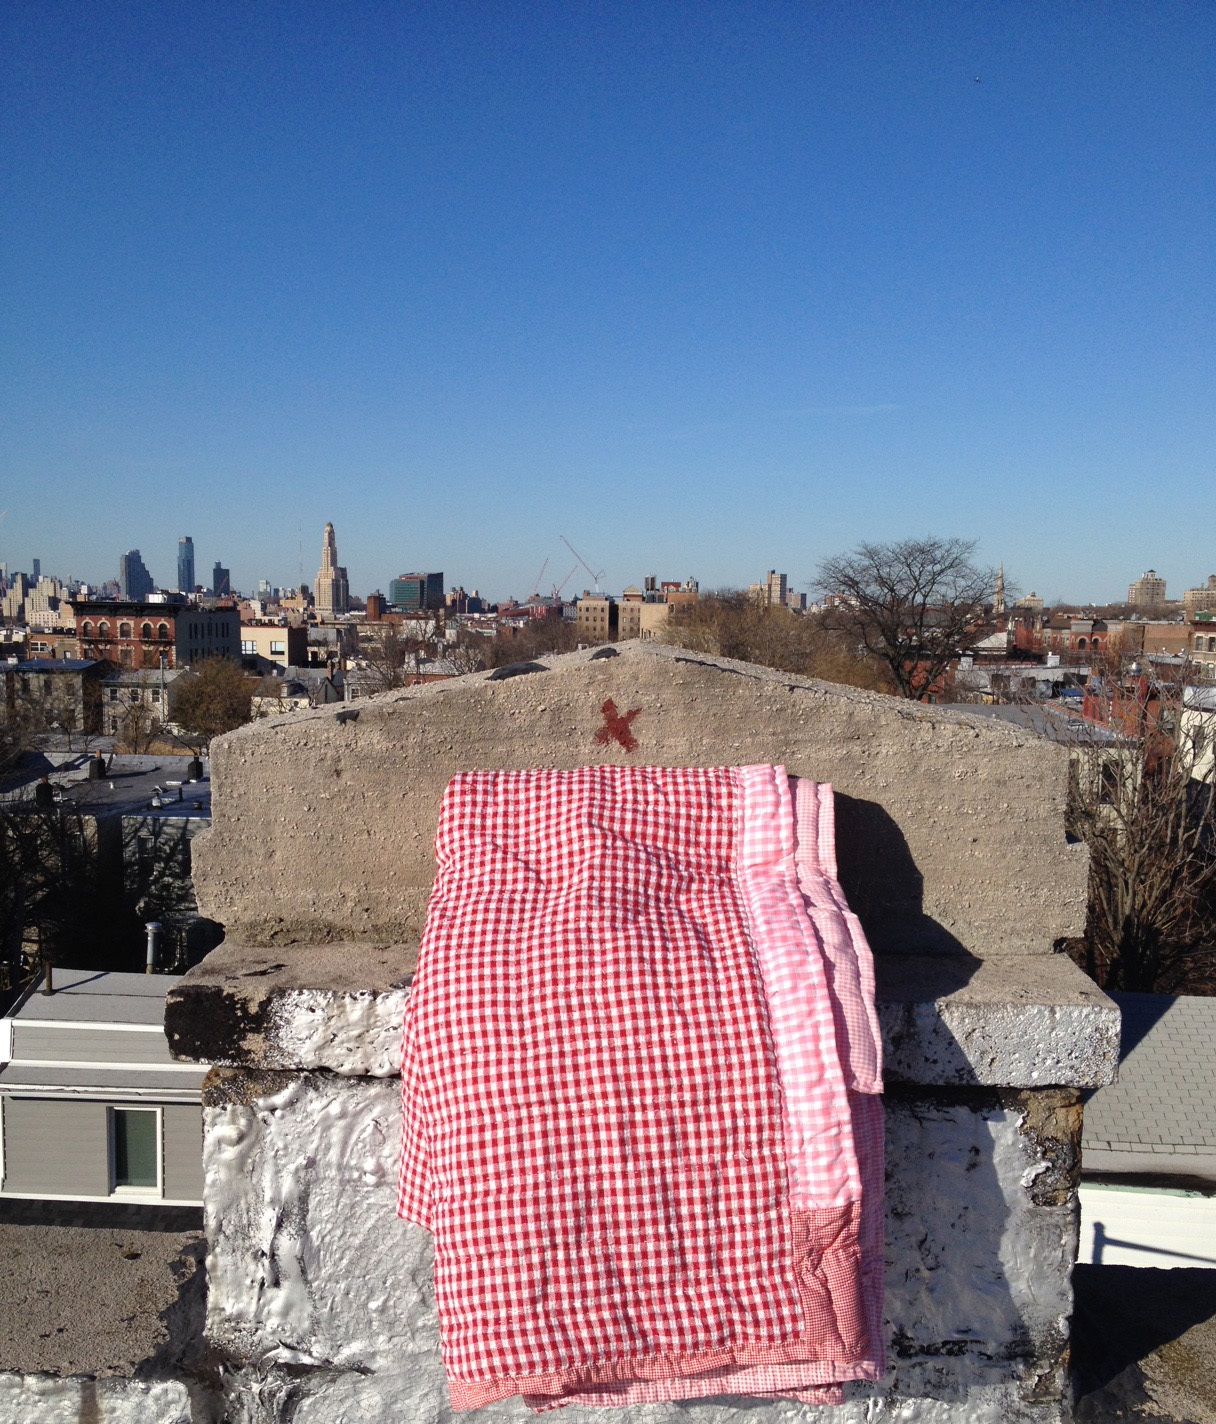
I started this quilt January of 2014. I worked diligently on it....until I hit a snag. I had made the top, was pleased with the bottom, decided to baste it with one of the vintage poly batting I had. All good so far. But when I started quilting it, I wasn't happy with the job I was doing. I'm sure all quilters run into this problem, and I'm sure they all see the two possible roads to fixing it.  1) Tear out the quilting and start again. 2) Put it out of sight and out of mind and try not to think about it (until you decide what to do). I ended up doing the latter, of course! I didn't want to rip out all the quilting I had already done. But I knew I wasn't doing my best work. 

I know that I shouldn't be telling you all this. 

I know that when one doesn't do their best, they should not alert people to that fact and take away from the enjoyment the viewer might get from the work. Perhaps the viewer didn't notice, or sees nothing wrong with the work... Perhaps they enjoy it and it's imperfections. By drawing attention to what the artist feels of as their short comings, the viewer enjoys it a little less or perhaps feels bad for liking it the way they do. I know we should not take away the viewer experience of the work. 

But, on the other hand,  It's often helpful for fellows in our craft to hear about mistakes we make, so they can learn and grow, as we have done. 

So I put the quilt aside for a while. Once I had had some space, I took it back out. It still wasn't as nice as I would like it to be, but I wanted to continue with what I had. To me, the mistakes seemed huge, and maybe they would to other quilters, too. But I would rather move on and than go backwards. I tried to be better as I moved forward. I still made some mistakes and there are still techniques that I need to learn to hone my craft. I'm looking at this quilt as not a salable or giftable quilt (maybe a second, or really close relation, who will love my work no matter what...), but as a learning experience. Not to mention I like this quilt! It's all crazy colors and bright pattern! 

Something New: Little Hearts

Belated Happy Valentine's Day to all (if you're into that kinda thing)!! We don't really celebrate in our house, no fancy dinners, expensive chocolates, or bunches of red roses. But we do like hearts. Doesn't everyone?

Instagram I took right after making my first block. 

Instagram I took right after making my first block. 

It seems like the appropriate season to post a new block I've made recently. The first little heart I made was from memory from a post by Cluck Cluck Sew. I used 4 HST and it turned out cute! 

But I decided I probably should revisit the post and see how I'd done. The tutorial was not exactly how I'd remembered it, so I made a few more blocks!

Some more wonky than the others....

We are stash busting in our house this year, so I paired the hearts, which came from very old pre cuts, with scrappy greens from the scrap bin. I was able to move 99% of that bin to 2 smaller bins, and organize, so it was a work and fun project! 
A lot of people have been following this tutorial over the last few months. Here are a few of my favorites: Sane, Crazy, Crumby Quilting, Random Thoughts... Do or "Di", and Film in the Fridge. And so many more I have seen, too many to find! Plus a ton on instagram #cluckclucksew.

Today, I'm linking up with Kathy's Quilts for Slow Stitching Sunday. 

Sunday

Sunday Stash #2

My BFF sent me a huge box of fabric! I haven't even had the time to go through it all yet. 

Some of the things she sent are appropriate for the season!

Some of the things she sent are appropriate for the season!

I also needed  to order an exact thread for the quilt I'm working on and couldn't help picking a few things up from Fabric.com

I love these nautical prints, but they are so large! Not sure how to incorporate them in to my work...

I love these nautical prints, but they are so large! Not sure how to incorporate them in to my work...